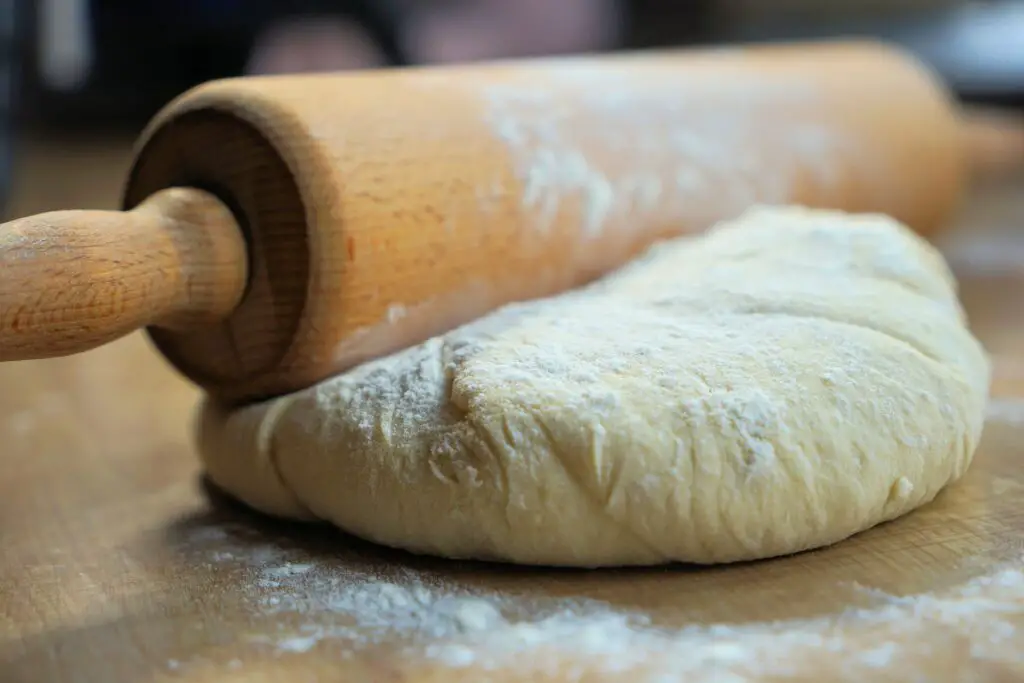
My biggest task now is to shape the dough. At the same time, I need to make sure not to break it apart while handling. This is an extremely delicate job. Additionally, it’s much easier said than done as I’m sure my fellow bakers and pastry experts would agree.
Working the dough
Retrieve the dough from the fridge. Divide it into to two balls before rolling both respective balls out into separate disc shapes. One will be the pastry base and the other will be the roof of the pie.
The base will need to be slightly larger than the lid. This is because it has to cover more surface area inside the pie tin. Ensure that the size of each disc matches up with the width of the tin that you will be using. This can be:
- glass
- ceramic
- metal
- any other material that is suitable to go into an oven
Handle with care
Gently lift up and move the first disc before laying it inside the pie tin. Slowly press the pastry down so it all touches the sides. Now you can gradually pour your filling over the base. Once you have done this, cover the whole thing with the second pastry disc. Firmly press down at the edges to seal the whole thing up.
It doesn’t matter too much if you have a bit of an overhang. In fact, this might even benefit you in the baking process. This is true if the structure of the pie collapses around the edges.
Using what is left
If you have any leftover pastry, I recommend creating decorative leaves. These can be added on top as I did in order to avoid waste. This is also useful for blocking up any splits or holes.
I suggest slashing the roof a few times with a knife. This will help the steam escape and also prevent any unfortunate explosions from the build up of pressure.
Apple pie suggestions & modifications
The recipe I was following asked me to add a considerable amount of sugar to both the filling and pastry. Like I said at the start, I was using golden delicious apples. For this reason, I improvised by reducing the amount of sugar due to the sweetness of these particular apples. It also to made the dish a little healthier.
You are technically supposed to use golden caster sugar. However, this can easily be replaced with regular granulated sugar. I chose to add nutmeg as well as cinnamon to my pie. It actually turned out quite well, giving the dessert a spicy kick.
The next thing on the agenda is glazing which might not initially seem like an essential step. However, doing this can make your pie look aesthetically beautiful upon inspection. You will notice this after you have baked and pulled it out of the oven.
Are you any good at handling pastry without causing damage? Do you personally have any tips or recommendations that you like to implement when baking apple pie?
Related Posts:
Baking Apple Pie Part 4:
Baking Apple Pie Part 1: Choosing A Variety Of Apples
Baking Apple Pie Part 2: Cutting Out Flaws & Creating Pastry
Simple Baking Recipes With A Few Cheap Ingredients Part 1
Simple Baking Recipes With A Few Cheap Ingredients Part 2
Sick Of Grocery Shopping? Grow Your Own Food & Save Money!
44 Great Gardening Tips For Growing Succulent Fruit & Vegetables
Cheap Dried Rice vs Quick & Easy Microwaveable Rice

